Is responsible for controlling the water flow to your home or building and can wear out over time, leading to potential leaks and other issues. In this article, we will guide you through the procedures and tools necessary to replace the core of a PPR stop valve.
What is a PPR stop valve and what does it do?
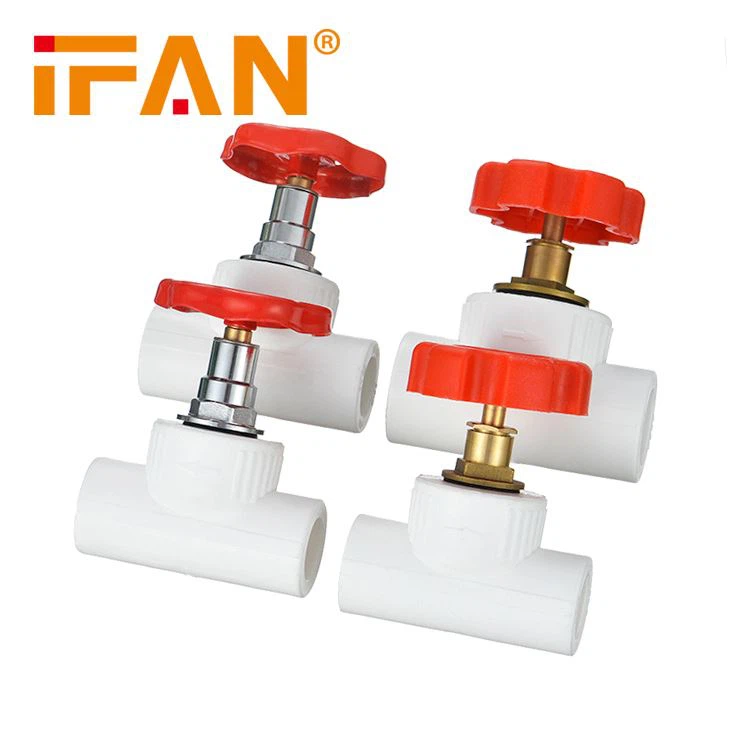
A PPR valve is a stop valve that enables you to shut off the water supply to your home or building without turning off the main water supply. PPR is known as polypropylene random, which is a type of polymer commonly used for the production of various types of piping and valves. The stop valve is installed between the main water line and the rest of the piping system in the house. A PPR stop valve should be replaced if it is leaking or if it is not closing, also if it’s too old and had many years of use, then it’s time to change it too.
Tools and materials required for replacing the core of a PPR stop valve
- PPR stop valve: This is the most crucial component, which is sold in any hardware store or online.
- Replacement core: This is the piece that is responsible for controlling the water flow inside the valve.
- Adjustable wrench: A large adjustable wrench can be used to remove the old valve and tighten the new one in place.
- Pipe cutter: A pipe cutter is used to cut the PPR piping and prepare it for the new valve.
- Sandpaper: Sandpaper is used to smooth the edges of the cut PPR piping.
- Lubricant: Apply lubricant on the threads of the valve before installation improves the smoothness of the process.
How to replace the core of a PPR stop valve
Step 1: Turn off the water supply
Before starting any plumbing work, it’s essential to turn off the water supply. Locate the main valve and shut it off. In most cases, the main shutoff valve is located near the water meter.
Step 2: Remove the old stop valve
Use a wrench to unscrew the nut connecting the valve to the piping system. You may need to use two wrenches, one to hold the pipe steady and another to turn the valve. Be careful not to damage the piping system or valves when removing the old valve. Once the valve is removed, pull out the core carefully.
Step 3: Clean the valve fitting
Use sandpaper to remove any rough or uneven surfaces on the end of the PPR piping where the valve will be installed. Ensure that the area is clean of debris. Apply lubricant on the threads of the new valve.
Step 4: Install the new valve core
To install the new valve, insert the core into the valve and align the valve with the end of the PPR piping system. Tighten the nut gently using a wrench. Ensure that it’s wrapped snugly onto the valve. Don’t over tighten it as this can cause leaks or damage the fitting.
Step 5: Open the water supply
Once the new valve is securely in place, turn on the water supply and check for leaks. Turn on the faucet and wait for the water to make its way through the piping system. If there are no leaks, the work is complete.
Conclusion
Replacing the core of a PPR stop valve is a straightforward process and doesn’t require a lot of expertise. With the right tools and some basic plumbing knowledge, you can do it on your own. Remember to turn off the water supply before beginning the process and use lubricant to ease the process. Be gentle with the new valve and don’t over-tighten it. Once everything is in place, turn on the water supply and check for leaks.
In summary, maintaining your PPR stop valve is critical to maintaining a sound plumbing system. Any signs of malfunction, such as leaks, drips, or inconsistent flow rates, should be addressed immediately. By following the tips outlined in this article, you can safely and easily replace the core of your PPR stop valve and enjoy a leak-free plumbing system.
Contact:
We will reply your email or fax within 24 hours.
You can call us at any time if there is any question on our production.
For more information,pls visit our webside https://www.ifan-plast.com/
Pls Mailto: sales11-ifan@ifangroup.com