


Installing Brass Angle Valves: A Quick Guide
Color:Silver Or Customized
Brand:IFAN/IFANPLUS/OEM/No Brand
Connecting method:Thread
Applications:Water Control
Experience;30+years
OEM&ODM:Support
Sample:Free
Send Inquiry
Product Details ofInstalling Brass Angle Valves: A Quick Guide
IFAN factory 30+ years manufacture experience support color /size customization support free sample.Welcome to consult for catalog and free samples.This is our Store Website:https://www.ifan-plast.com/,Click to watch IFAN's product video.Our IFAN products are your best choice from quality to price, welcome to buy!

1. Introduction
Brass angle valves are small but essential components in plumbing systems, known for their reliability and longevity. They help control water flow and offer a simple solution for isolating fixtures for repair or replacement. But installing one correctly requires some understanding and precision. Here's everything you need to know to set up a brass angle valve efficiently.
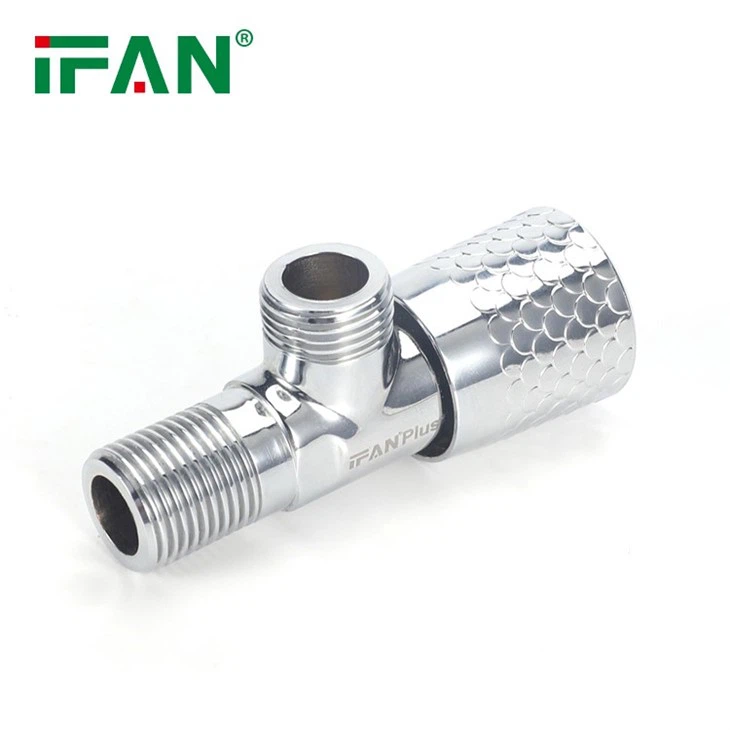
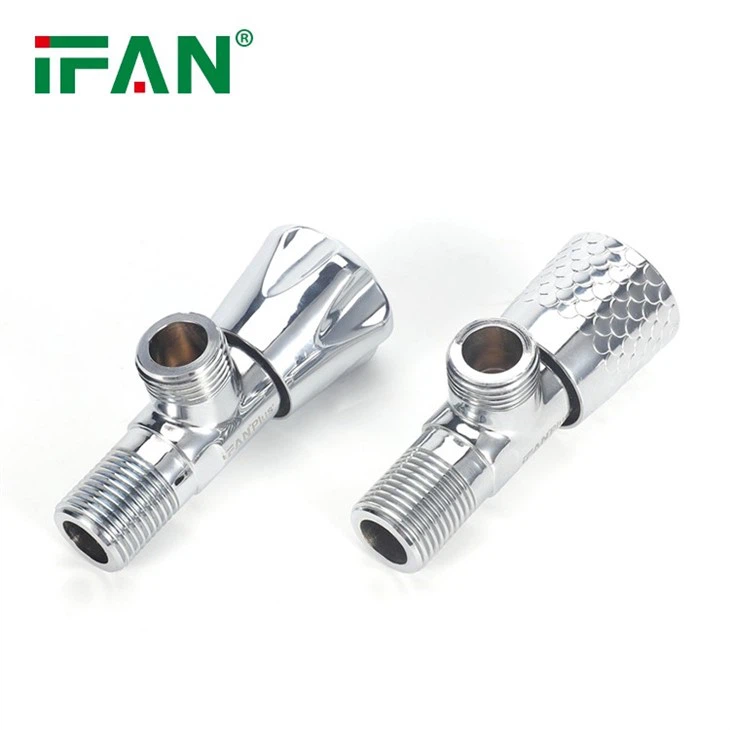
| Product Name | Brass Angle Valve |
| Color | Silver Or Customized |
| Size | 1/2'' |
| OEM | Support |
| Sample | Free |
| Experience | 30+Years |
| Contact Us | Click HERE to contact us now!we are online 24 hours a day to answer your questions! |
Welcome to contact IFAN, we are online 24 hours a day to answer your questions!
2. Benefits of Using Brass Angle Valves
These valves stand out in plumbing due to their durability and corrosion resistance. Brass is naturally resistant to rust and wear, making it an ideal choice for both residential and commercial applications. The material's longevity and ease of maintenance add to its appeal, allowing homeowners to install it once and have it last for years.
3. Tools and Materials Needed
a. Essential Tools for Installation
Adjustable wrench or pipe wrench
Screwdriver
Thread seal tape (Teflon tape)
b. Key Materials and Safety Equipment
New brass angle valve
Pipe cleaner or cloth
Bucket or towels for water spillage
Safety gloves
Having the right tools on hand ensures a smooth installation process, preventing any last-minute disruptions.
4. Pre-Installation Preparation
Before installing, it's essential to verify that the new valve fits your system's specifications. Take note of the pipe's diameter and threading type to ensure compatibility. It's also wise to measure the pipe's length and inspect the area for any obstacles that may affect the installation.
5. Shutting Off Water Supply
a. How to Locate and Turn Off the Water Source
Before you start, locate the main water shut-off valve for your house or building. This is typically near where the water line enters the property. Turn off the water supply to avoid spillage and potential flooding while you work.
b. Safety Precautions
After turning off the main supply, open a faucet in the house to release any remaining water in the pipes. This helps relieve pressure and minimize water flow when the old valve is removed.
6. Removing the Old Valve (If Applicable)
If you're replacing an old or malfunctioning valve, begin by loosening it using an adjustable wrench. Turn counterclockwise to unscrew it from the pipe. Clean any residue or debris from the exposed threads with a cloth to ensure a good fit for the new valve.
7. Installing the Brass Angle Valve
To begin installation:
Apply Thread Seal Tape
Wrap Teflon tape around the threads of the pipe to create a watertight seal. Wrap it clockwise to match the direction in which the valve will be screwed on.
Attach the Valve
Screw the new brass valve onto the pipe by hand, ensuring it's secure. Then, use a wrench to tighten it further, but be cautious not to overtighten, which could damage the threads.
Adjust the Angle
Position the valve at the desired angle so that it aligns perfectly with your fixture for easy access.
8. Testing the New Valve
After installation, turn the main water supply back on slowly to test the new valve. Open the valve and check for any leaks. If you spot a leak, turn the water off again and tighten the valve slightly.
9. Final Adjustments
Once you're sure there are no leaks, make any small adjustments needed to align the valve perfectly. This final step ensures the valve operates smoothly and is positioned correctly.
10. Maintenance Tips for Longevity
To keep your brass valve working well for years:
Inspect Annually: Check the valve for signs of wear, rust, or leaks. Catching problems early will prevent larger issues down the line.
Lubricate the Handle: Apply a small amount of lubricant to the handle if it becomes stiff or difficult to turn.
11. Troubleshooting Common Issues
Leaks Around the Threads
If you notice leakage around the threads, try reapplying Teflon tape and tightening the valve. Persistent leaks may require replacing the valve or consulting a plumber.
Stiff Valve Handle
A stiff or stuck handle can often be resolved by applying lubricant, but if it persists, consider replacing the valve.
Valve Not Shutting Off Completely
In this case, the internal components might be worn. Replacement is usually the best solution.
Conclusion
Installing a brass angle valve is a straightforward process that can be handled with the right tools and knowledge. From preparation to testing, each step plays a role in ensuring the valve functions efficiently and lasts for years. With routine maintenance and timely troubleshooting, your valve will continue to provide reliable service, making your plumbing system easy to control and maintain.


Hot Tags: installing brass angle valves: a quick guide, China installing brass angle valves: a quick guide manufacturers, suppliers, factory, PPR Reducing Socket, PVC 90 Degree Elbow, Male Socket PPR, PPR Water Heater Elbow, CPVC Tee Fitting, HDPE Male Elbow
Send Inquiry